If you're considering making the switch to artificial turf, understanding the artificial turf installation process helps set clear expectations for your project. While it might look simple from the outside, proper installation involves several important steps that directly affect how long your turf lasts and how it performs over time. This guide walks through what to expect, step by step.
Before installation begins, a proper artificial turf installation process starts with assessing the area — measuring square footage, evaluating existing drainage, and identifying any obstacles like tree roots, irrigation lines, or uneven grading that need to be addressed.
The existing lawn, weeds, and any vegetation in the installation area are removed, typically including the top layer of soil to create a clean base for the new turf system.
This is one of the most critical steps in the entire artificial turf installation process. Proper grading ensures water drains away correctly rather than pooling on the surface, while a compacted base layer (typically crushed stone or a similar aggregate) provides the stable foundation turf needs to perform well over its lifespan. Skipping or rushing this step is one of the most common causes of premature turf issues, including unevenness and poor drainage.
A weed barrier fabric is typically installed over the compacted base to prevent weed growth from pushing up through the turf over time.
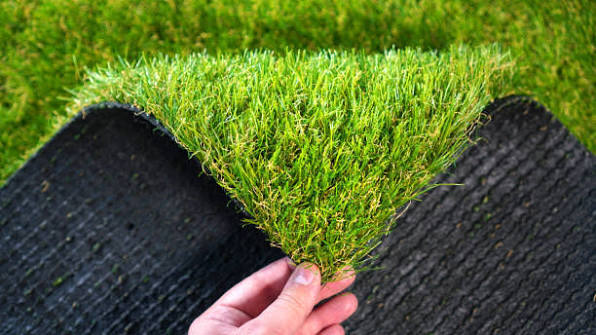
The artificial turf is rolled out and positioned carefully, with attention to grain direction (many turf products have a natural directional lay, similar to carpet) to ensure a consistent, natural appearance across the installation area.
For larger areas requiring multiple turf pieces, seams are carefully joined to create an invisible transition between sections. The turf is then secured along the perimeter using stakes or adhesive, depending on the specific installation method.
Infill material is spread across the turf and worked down into the fibers using specialized brushing equipment. This step is essential for helping turf fibers stand upright, improving durability, and providing appropriate cushioning depending on the turf's intended use.
The completed installation is brushed to ensure fibers stand properly, and a final inspection checks for any seam issues, uneven areas, or drainage concerns before the project is considered complete.
Timeline varies based on square footage, site conditions, and project complexity, but most residential artificial turf installation projects can be completed within a few days, assuming no major site preparation challenges arise.
Understanding the artificial turf installation process helps you ask the right questions and recognize quality work when you see it. Proper site prep, grading, and installation technique are what separate turf that looks great and performs well for 15+ years from turf that develops issues within just a couple of years.

Ready to start your artificial turf installation? Contact Breaking Ground Outdoor Services to schedule your consultation.